


No products in the cart.
Payment methods accepted
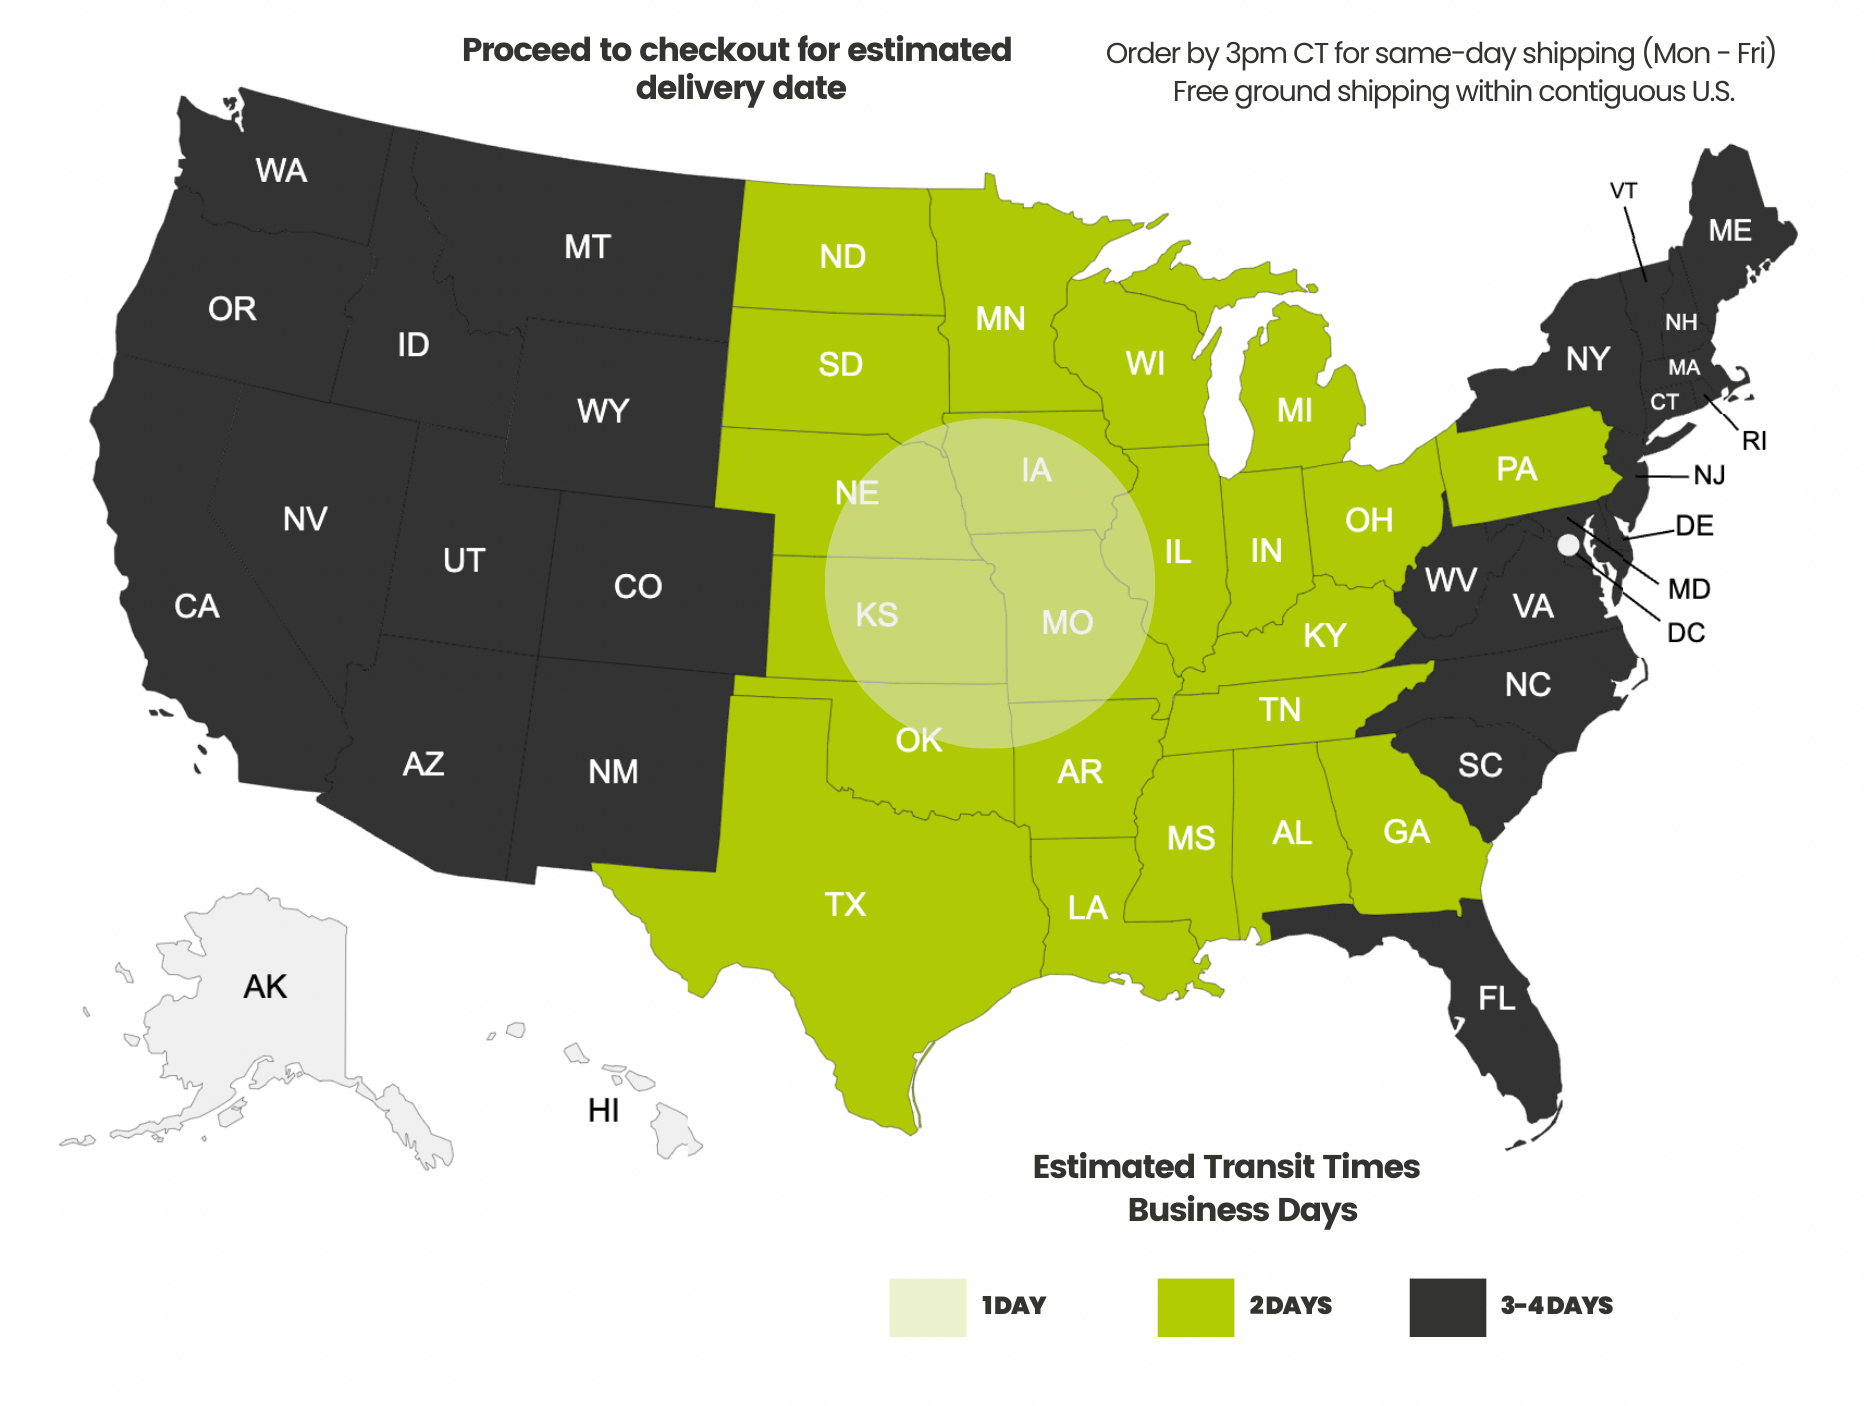
Unsure what Ethernet cable you need?
Look no further than our Ethernet Cable Finder. Answer a couple of questions and let trueBOT guide you to the perfect cable for any situation.
Still have questions? Check out our in-depth blogs, insightful white papers, and instructional videos on all things Ethernet cable and low voltage supplies.

Read: The Difference Between Cat6 vs Cat6A Ethernet Cable

Understand: Selecting the Correct Outdoor Ethernet Cable
Time to find coaxial cable and connectors for your install? Well, you are in the right spot!Check out our in-depth blogs, white papers, and instructional videos about everything going on in the low voltage industry and one of the best sources for coaxial information.
Have questions? Our networking experts have the answers!Check out our Cable Academy. for more information.

Read: The Difference Between Dual Shield vs Quad Shield Coaxial Cable
Understand: How To: Universal RG6 Compression F Connector on Quad Shield Coaxial Cable
Fiber Optic expertise at your fingertips.
Looking to deepen your understanding of fiber optic technology? Look no further than trueCABLE's Cable Academy. Our extensive collection of blogs, masterfully crafted by industry experts, offers a wealth of invaluable insights into the world of fiber optic cabling.
Have questions? Our networking experts have the answers.Check out our Cable Academy. for more information.
Read: Fiber Optic Splicing: Examining the Factors that Affect Splice Performance

Understand: Using Fiber Optics to Extend Your Ethernet Network Beyond Copper's Limits
Effortless cable management. Learn how we do it.
Low-voltage tools and accessories should keep your networking installations clean and organized. trueCABLE has a variety of high quality cable management tools, accessories and informative blogs for all your installation needs.
Check out our Cable Academy today and expand your knowledge.
Read: Copper Fabric Strips for Bonding Shielded Ethernet Cable

Understand: When Aliens Attack! Avoiding Ethernet Alien Crosstalk
Written by Don Schultz, trueCABLE Senior Technical Advisor, Fluke Networks Copper/Fiber CCTT, BICSI INST1, INSTC, INSTF Certified
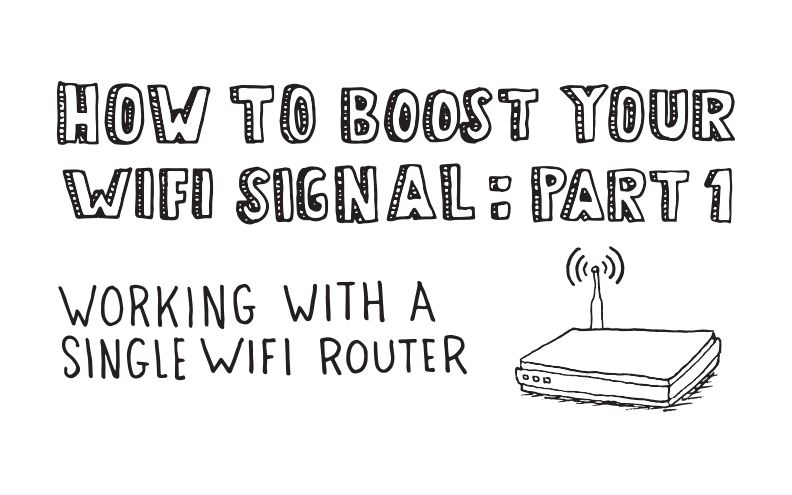
Welcome to the first installment of a three part series, all addressing how to get the most from your WiFi in various situations. This blog specifically addresses the most common environment -- a single WiFi router or modem/router combo.
Have you ever bought a new WiFi router, powered it up, and found out that things are not going quite as planned? Well, you are not alone and you certainly won’t be the last one to run into this issue.
Walking into any electronics store you might have seen a nice colorful box, promising billions of watts of transmit power and full coverage for your entire house. Powerful! Lots of advanced technology is printed on the box like MU-MIMO, Dual Band, Quad Core Processor, and the thing is just festooned with antennas. More antennas than an alien! This must be the one. So, you buy it.
Alternatively, you did a lot of research online. You bought your new WiFi router from Amazon or some other online source. It has five glowing stars, and hundreds of happy users.
These things are all good signs but I have to give you a heads up…
Things don’t always go as planned.
WiFi can be finicky. It is subject to a number of issues like:
I am not here to give WiFi a bad rap
WiFi is quite useful, and necessary. Show me a place to plug in an Ethernet cable on your iPhone, and I will give you $5. So, in our mobile world you often have no choice but to choose wireless over wired. Just make sound choices. Another blog article, Ethernet vs WiFi, Is Wiring your Network Worth It? will provide a solid basis for when you should wire your devices. Optionally, you can choose MoCA for situations where WiFi and Ethernet both don’t quite fit, as explained in MoCA vs Ethernet.

Ultimately, your home network will be a mixture of at least two technologies; wired for some items, and WiFi for others. The idea is to get everything onto the same network so you can surf the Internet, print straight from your smartphone, share files, etc., but in a fashion where the best connectivity is used for each device.
Go ahead and open up your new WiFi router box if you have not already done so. We are going to take a dive into how to set it up so that you have the best shot at getting a reliable signal.
I’ll always say it, know your environment. It will pay off, so bear with me. If you have access to the Internet then navigate here: https://www.netspotapp.com/. NetSpot is a tool that I use and they offer a free version that runs on Windows, macOS, and Android. If you have an iPhone, Wifener works well also. You do not need the super advanced Business Edition in order to perform a 500 point WiFi survey. You can see the advanced version in action in our recent white paper, The Residential Ethernet Network Install From A to Z.
After downloading, installing, and registering the application, turn off any WiFi in your house. Yup, push the off button or unplug your WiFi. For the next part, you want to know what WiFi channels are currently being used in your environment. This is the first step in understanding how to improve your signal.
Once you run the tool, it will show you all WiFi signals and channels that are being used. Honestly, this is best done with a laptop. They have better signal reception than any smartphone. Most people come away very surprised that there are 30 or more signals permeating their house. You want to know which WiFi channels have the least use. In other words, the strongest signals you see are the ones you don’t want to pick. If you see that channels 6 and 11 are heavily used, then you will wish to pick channel 1. This is for 2.4 GHz. You have three primary choices: channel 1, 6, or 11. Resist the temptation to use an “in between” channel like 2, 5, or 10 unless you have no other choice. These middle channels are not truly separate, they overlap with the “Big Three”.
If your smartphone or laptop supports Dual Band (in other words 2.4 GHz and 5 GHz) then you want to find out the same thing for that band. It is far less of a problem since 5 GHz has weak signal penetration from structure to structure.
Take notes! Write down the channels that see heavy use for both bands. You will want to use this information to tweak your WiFi router.
Worst case scenario, the 2.4 GHz band will be fully saturated and unusable. In this situation, you might need to disable 2.4 GHz in your WiFi router and use 5 GHz only. This only works if all of your other WiFi devices support 5 GHz, and if your house is under 1,500 square feet with stud / drywall construction. Forget this tactic if you are dealing with cinder block or concrete because 5 GHz is quite horrible at penetrating more solid objects. A better option would be MoCA or finding a creative way of running Ethernet to everything that can accept a wired connection.
Location, location, location. Prime real estate is always best. In terms of WiFi, this is a centralized point in your home. Your ISP might not have run your Internet connection wire (known as coaxial cable) into an ideal location. They did what was easy and convenient for them, but not necessarily for you. This situation is common, and brought into focus in our recent white paper. Suffice it to say:
Centralizing your WiFi signal may get involved, but this step above all others will pay off the biggest.
1. Identify the Ethernet LAN port on your cable modem. The cable modem is the device you bought or are renting just to get on the Internet.
2. Plug the Ethernet cable that came with your WiFi router into the Ethernet or LAN port on your cable modem, then plug the other end into your WiFi router where it says “WAN”. You are connecting up your cable modem to your WiFi router so they can speak with the other. They should be labeled similarly to the terms I am using, but if not, check the Quick Start Guide fold out sheet that you threw to the side. Yeah, the one you tossed in the trash already. Go retrieve it.
3. Unplug your cable modem and let it sit for about 30 seconds. Plug it back in and wait until all of the blinking stops and the cable modem is back online. That might take up to three minutes, so be patient. Get some coffee (I like coffee).
4. Now, power up your new WiFi router. Similarly, wait until all of the blinking stops and it is online and ready to go. Again, this might take 60 seconds or so.
You want to check for updated firmware for your new WiFi router. Who knows how long it sat on the store shelf, and how many updates came out since the model was released. How to update the firmware on your router will vary by manufacturer and model. Some will simply prompt you about updates once you login. Others are not nearly as straight forward. You will need to investigate how to do it. The quick start guide that came with your new WiFi router should also have the initial login information for the username and password.

Given the table above, I will usually split the difference at 14dBm--or 25mW. In the case of your router, it might only give you low, medium, or high. This is where you must consult with your router manufacturer and find out what those settings mean. If you only have the three choices, pick the one closest and use that.
Most dual band WiFi devices like smartphones will select the 5 GHz band if they can (they give preference to it) and switch to 2.4 GHz when the 5 GHz signal gets too weak (like when you walk outside into the back yard). This is called “roaming”.
By default, any new WiFi router worth it’s asking price will have a built-in “firewall”. Firewalls are designed to keep uninvited guests from coming through your Internet connection and doing mean things to you (via that coaxial cable). Turn the firewall on if it is not already on. It should be. I recommended leaving the detailed firewall settings at their defaults, unless you are willing to research what each of the settings means.
You may see options to turn on or off MIMO, or MU-MIMO or any number of other inexplicable settings. Don’t change the default settings unless you know what each setting does. Changing settings like these can cause very unusual problems!
Once your settings are tweaked, you can save them and I recommend rebooting your router. In some cases, each change you make is automatically saved and you have no need to reboot. I strongly suggest rebooting in any case if the settings were automatically saved for you. You can simply unplug the router and then plug it back in, or in some firmware setup screens inside a router you have the reboot option. Once the router is back up and running, connect to your brand new (and hopefully well functioning) network and start running speed tests. Walk to various points in your environment (floor to floor, room to room) running your ISPs speed test like Xfinity Speed Test that Comcast makes available on the Internet for each and every room. You may need to tweak settings further if performance is below your expectations.
This whole process takes patience and some research. There is no such thing as a free lunch and if you want to extract the most from your WiFi, this is how you go about it. With that said, HAPPY NETWORKING!
trueCABLE presents the information on our website, including the “Cable Academy” blog and live chat support, as a service to our customers and other visitors to our website subject to our website terms and conditions. While the information on this website is about data networking and electrical issues, it is not professional advice and any reliance on such material is at your own risk.


May I express my thanks to Don for yet again an excellent series of articles. Don…. THANK YOU. If I lived in the USA I would be buying my cable from TrueCable, but being in Ireland that option is not open to me. Don…… I never knew that there exists SWA Ethernet cable. ( Steel Wired Armoured) Perhaps in the future you might want to mention that somewhere ?
One final comment if I may.
It is gratifying to see a CABLE MANUFACTURING Company allowing its Engineers/Staff/Consultants to do a series of Articles on Wifi. That attitude, to me, speaks book-volumes about the companies attitude. Unless I am very much mistaken…..TrueCable makes NO money in selling WiFi equipment or promoting its use. Allowing Don to write this series of articles shows a refreshing enlightened attitude and management at TrueCable is to be commended for this.
Keep up the great work.
PS: Don….. in my opinion… yes…. Wifi has its place… always will… but NOTHING beats a well run line of cable.
Albert A Kleyn
Director, Cork Animal Care Society Ltd.